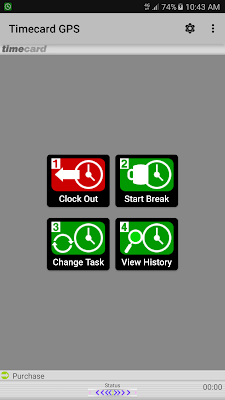
The Sick & Annual Leave Forms are part of the newest features we have implemented in our system. These Forms will enable field employees to apply for Sick and Vacation Leaves directly from the application so that an Administrator can either Approve or Reject this request.
To set this up, the first step is to setup the Administrator or Administrators that will have access to an employee's requests. Please keep in mind that not all Administrator users will be able to approve or reject requests, only the ones that have been manually assigned to a specific employee.
For this, go to the Administration Tab and click on Manage Users. Then, find the ID of the Field Worker you would like to setup a Leave Administrator for.
At the bottom of the user's profile, you will find a section called "Leave Administrator". Use the dropdown menu to select the Administrator and click on "Add". If there are going to be multiple admins, you can select all the ones you need and once you are ready, click on "Update".
With that properly setup, let's learn how to use this new feature!
This option can be found by accessing the Menu, it's called "Leave Forms":
In here, you will find the next screen:
Make sure to select the appropriate option according to your needs. Both options work the same way, let's create an Annual Leave Form by tapping the "Annual Leave" button.
The next screen will show you options to enter the Start and End dates and times, so make sure to enter them correctly depending on your personal needs.
Use the "Notes" field to enter a description or any message that you consider necessary. You can use the "Attach Photo" option to include a receipt, a doctor's note, or anything that might be important or mandatory according to your company policies.
When you are, tap on "SUBMIT" on the top right. You will see a Warning screen, select "SUBMIT" again if you are confident that you uploaded everything you needed and setup the dates and times properly.
Now let's move on to what the Administrators will see. Here is an example of a company's requests and their different statuses:
There are two pending requests that need to be either approved or rejected. This can be easily achieved by clicking on the appropriate button next to the request.
Notice on the last item there is an image icon next to the word "Approved". This is where you can click on the see any attachments the employees have sent. When you click on it, you will be prompted to either open the file or save it to your computer, depending on your browser settings.
We hope this feature makes managing employees' leave time more efficient! Leave us a message in the comments section if you have any questions or thoughts.
--Econz Team


