Timecard Supervisor is one of our most important and widely used features. We have talked about it in numerous previous posts, so we thought it would be useful to provide a refresher guide and go back to basics: setting it up!
First we need to create a Field Worker Administrator user; this is done in the Field Workers tab, we would just click on add new, then here is the example of the fields that need to be used:

Here is a brief explanation of what is needed:
- Device Type: use TimeCard.
- Device ID: the phone number for the device that the employee will use.
- Name: name of the user.
- User Type: to enable the Timecard Supervisor functionality, make sure to only use "Field Worker Administrator".
- TimeZone: time zone where the employee is located.
- New/Confirm Password: this is the password that will be used when setting up the application.
- Enable Timesheet Approval: make sure to enable this if you need that supervisor to approve timesheets.
- All other settings are optional.
Then click on Add New at the bottom to continue.
Before setting up the application, there is one more very important step that needs to be done. Since we are obviously talking about Timecard Supervisor, here is where the supervisor part would start showing its face, we need to create a team for this user and add the employees that he/she will be in charge of. If this step is omitted then this person won't be able to filter punches, view breadcrumbs or approve timesheets for anyone, so let's make sure to create a team and add some users for "Horace Reid" to monitor.
Iin the same Field Workers tab we will click on the "Manage Teams" button, and then on "Add New Team":

Then we create the team, we can name as we wish and select that person as the supervisor, then click the "Add New Team" button:

Once that step is done, we will be able to add employees to our new team by using the dropdown menu. Staff members that are already supervisors for other teams are not available to be added, so keep that in mind:

Now we can download the application, just search for "econz" in Google Play Store or the Apple App Store and find "Timecard Supervisor" with the red icon, then tap "Install":

Once the app is installed, launch it and make sure to allow all the required permissions for proper functioning of the software:

Next, you will be prompted to enter the Device ID and Password, which are the ones we created earlier when setting up the profile:

Once the connection with the server is successful, we will get a disclaimer which has to be accepted to continue:

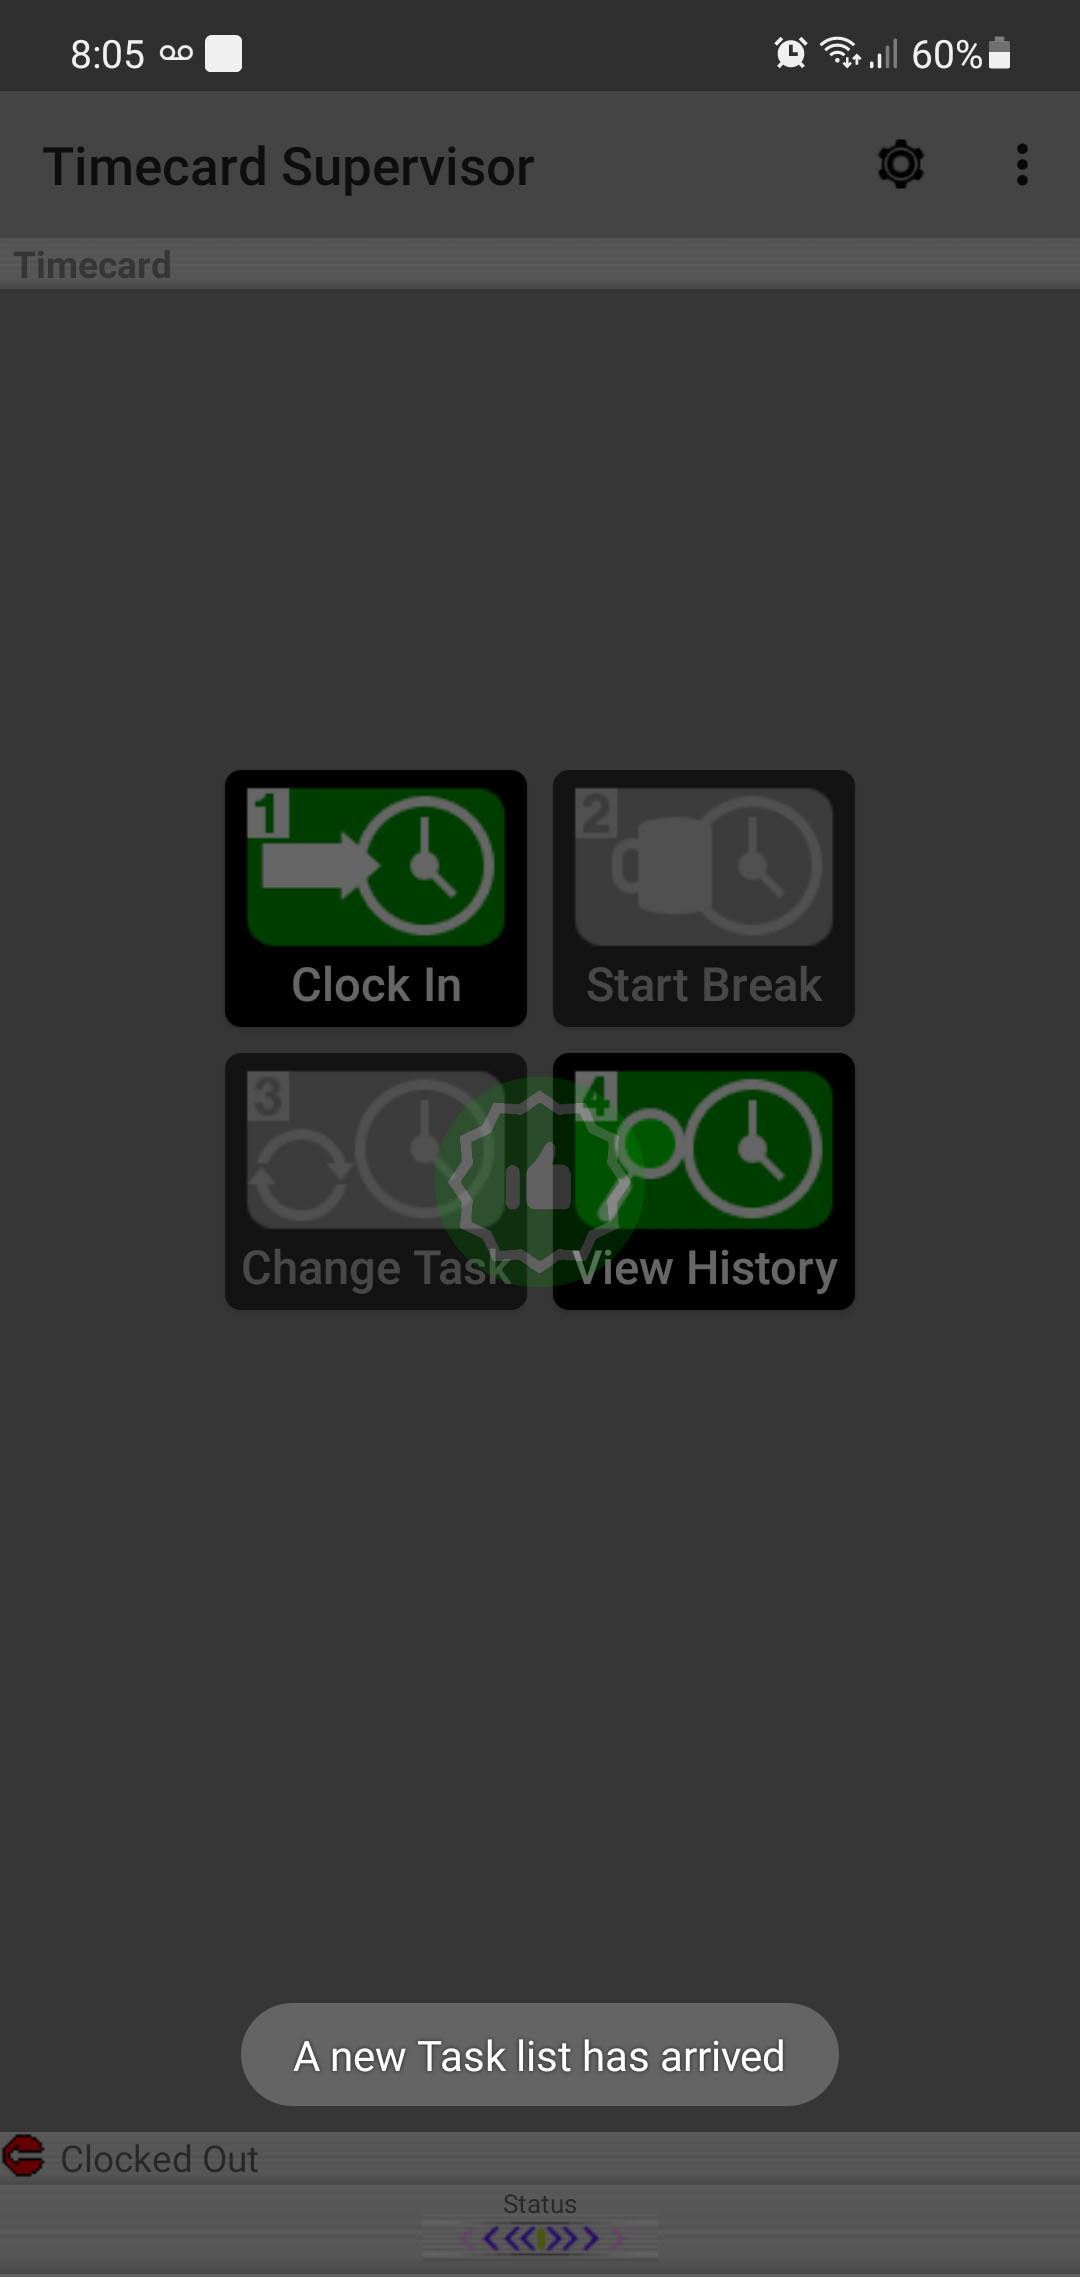
You will get a green thumbs up and a number of popup messages notifying you about the progress of the application loading all the data for the profile that was configured:
Then, you will be asked to allow GPS based permissions, this step is also really important to ensure proper tracking while using Timecard Supervisor:

After that, the installation is completed. We can use it to clock in and out as normal, all the functionality that the full version of Timecard GPS has, as well as the features unique to Timecard Supervisor, such as viewing employees tasks and breadcrumb trails or sending messages:

And also, using the Timesheet Approval functionality, which we talk about in a previous post:

That's it for now, we hope you find this guide useful, if you have any questions, leave us a comment below!
--Econz Team
No comments:
Post a Comment