Hello everyone!
In this post, we are going to cover a great new feature called "Auto-Timesheets". These are ideal for employees that have fixed tasks during a specific day and you don't need to provide a device for them. By creating the Auto-Timesheet, the system will generate the punches as if the employee was doing them and that person will also be able to sign and approve the Timesheets at the end of the period.
To get started, go to the Field Workers tab, find the employee you need to create the timesheet for and click on the "Update Roster" button:

Then, select when you want the Start of Week to be, keep in mind that you can only add punches in a future date:

Specify the Clock-in and out times by using the Start and End Hours dropdown menus, then choose the Task and SubTask (if available) that the staff member will be working on. SubTasks will appear depending on if the Task you selected has SubTasks allocated to it. The next step before saving it is to always tick the "Auto Timesheet" check box. Then hit the "Save" button:

Once that step is completed, you will notice that the Start and End Hours have been populated in the previous screen. If everything was done properly, the value of the "Auto Timesheet" column will be set to "true".

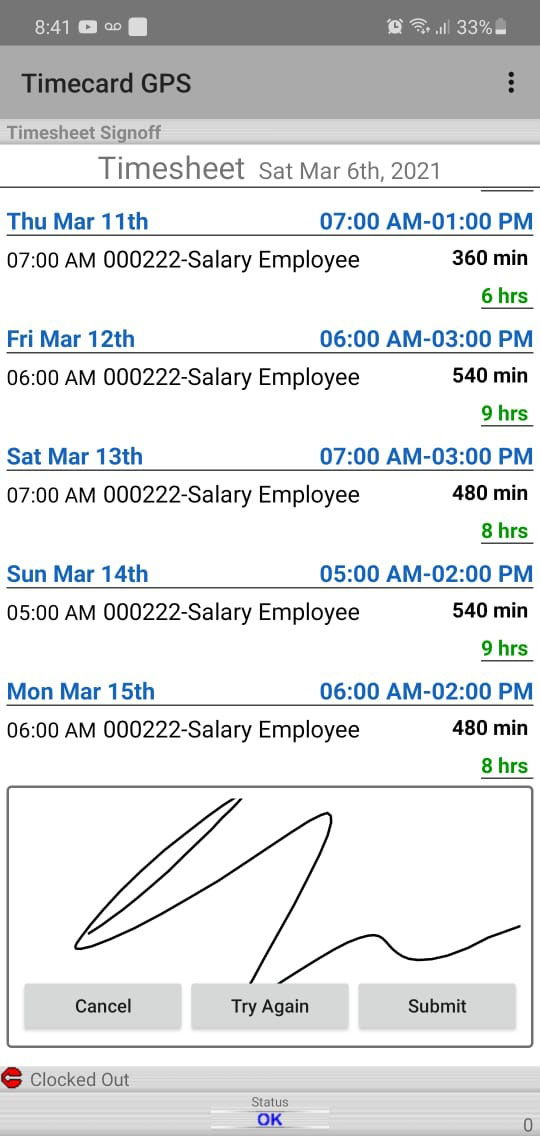
As mentioned at the beginning of this article, the intention of this feature is that the system adds the punches automatically as if the employee was doing them in real time. This will happen at the times that were specified in the roster section. This means that once the timesheet period has ended, the employee will be able to approve the timesheets that was generated without the need of any other input!
So, when the person in charge of approving the timesheets logs into the web portal, they can click on Approve Timesheet and use the filters to find the specific user and dates that the timesheets will approved for:


That person will be taken to the review screen where all the punches are shown, here, as covered on previous topics, is where edits can be done and where you can approve all punches at once by clicking on the Approve checkbox, as shown here:

Go to the bottom and click on "Save" to finalize the approval process:

At this point, you can view the approved timesheets in reports such as the Timesheet Report, which even shows the person who approved it and the status of the timesheet:

Let us know if you have any comments or questions below, we really hope you can make the best use out of this wonderful automated feature we have created.
--Econz Team
No comments:
Post a Comment